Using Alphas with Hairs
Tutorial: using Alpha texture for hairs

1. Prepare Hair
- Select mesh and create FB hair on it (Furryball - hair - create hair)
- Turn on Furryball in viewport
- Adjust width and length of hair so the texture will be visible, Experiment with randomness, billboarding and orientation ( see Hair node for details)

2. Prepare textures
- Prepare texture with alpha in your image editor.
- We recommend to save image as transparent PNG-8 with matte color set to most common color in image ( in this case green)*
*you can find this option under "Save for web and devices" in Photoshop

3. Assign texture to hair
- Assign this texture to body color in hair settings node.
- Enable Alpha mask
- Tweak variances, root/tip color,
- Set higher Number of CVs in hair settings and play around with hair modification

4. Lights
- Add some lights, enable their shadows.
- Tweak Filter radius in Hair settings. (Furryball hair has its own override for shadow filtering/bias/color)

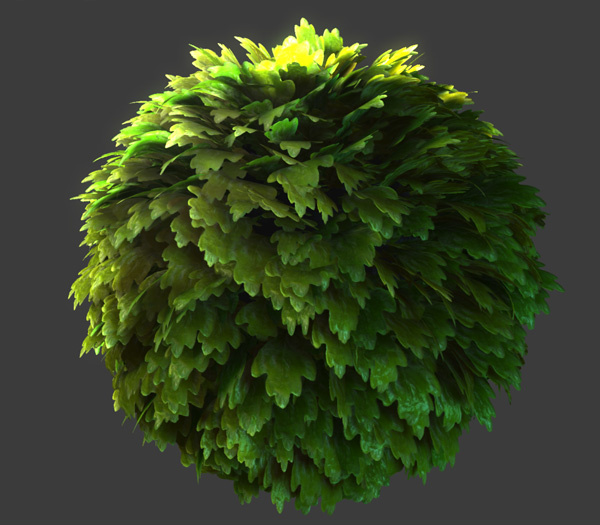
5. Vegetation Shading
- Enable vegetation shading in hair settings
- Put your texture into Leaf front and back color, you can adjust color balace of them to get differet color on front and back

- You can generate normal map and put into leaf normal

- Select lights and add Furryball light attribute node to them (Furryball - Add light attributes - New)
- Enable translucency in this node
- Tweak Leaf thickness in hair settings or map texture to it.
Copyright © 2009-2013, Art And Animation studio
Created with the Freeware Edition of HelpNDoc: Full featured Documentation generator